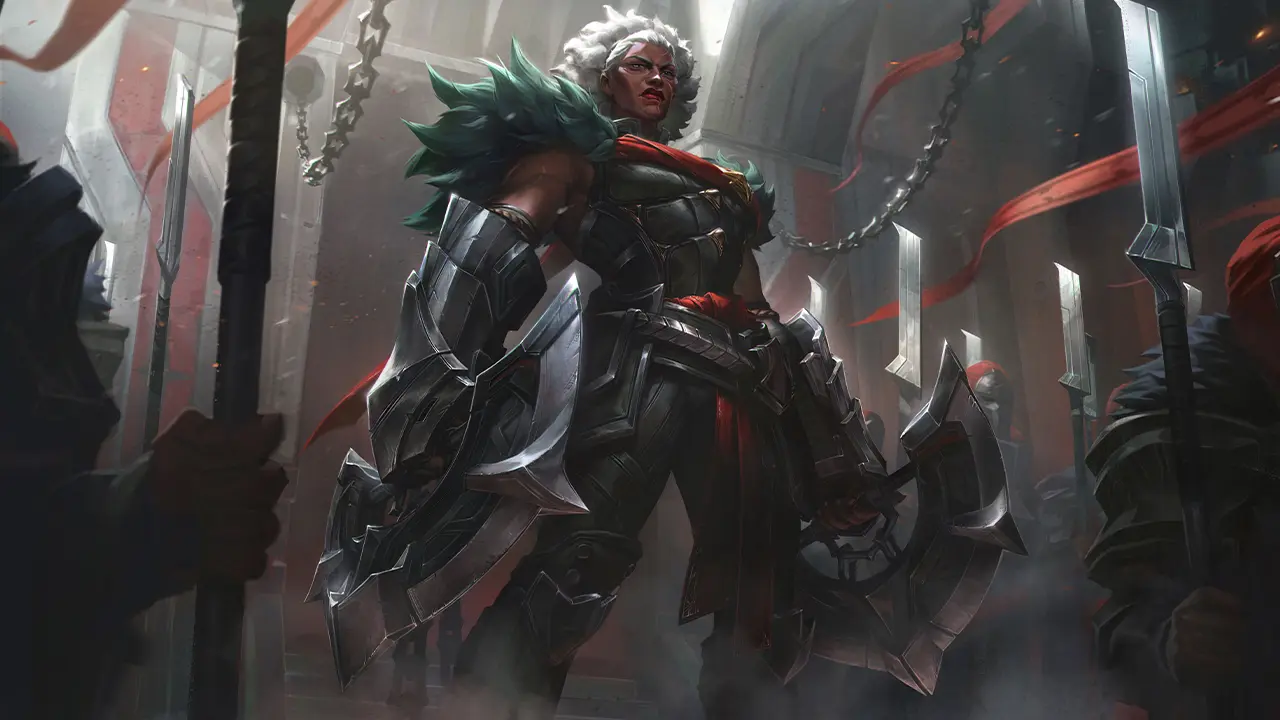

Matriarch of War
Ambessa
Roles and difficulty from the global official site, lane from the China-server official site
Latest Meta Stats
Popular Ambessa builds in game
Taken from the in-game loadout screen as of 2026-08-26. The pick count and win rate are shown exactly as the game reports them.
Armor and magic resistance for long brawls
- Eclipse
- Armored Advance
- Trinity Force
- Serylda's Grudge
- Death's Dance
- Amaranth's Twinguard
When enemy damage is split between physical and magic and fights run long
Build 1 totals 130 Armor and 60 Magic Resistance. Amaranth's Twinguard gains a stack every second while you are in combat with enemy champions, and at 5 stacks it raises your AR and MR by 30% each and adds 20% Tenacity. Armored Advance shaves 10% off the damage you take from champion attacks. Death's Dance holds back 27% of the physical and magic damage a melee champion receives and instead deals it to you as true damage over 3 seconds, which flattens out burst.
Shield shredding with a resurrection safety net
- Trinity Force
- Serylda's Grudge
- Spear of Shojin
- Serpent's Fang
- Guardian Angel
- Immortal Treads
When enemies lean on shields to survive and you need to push damage through
Build 2 totals 783 Max Health and 205 Attack Damage plus 15 Armor Penetration. Serpent's Fang cuts the shields an enemy champion gains for 3 seconds by (10% of bonus AD + 40)% for melee champions, capped at 60%. Spear of Shojin adds 20 Basic Ability Haste, and damaging enemies or monsters with an ability raises your ability and passive damage by 3% for 6 seconds, stacking up to four times. If you do fall, Guardian Angel brings you back with 50% base HP on a 180-second cooldown.
The commentary is AI-written. It is cross-checked against this site’s item data and the official lane assignments before publishing.
Skill Order (Lv 1 - 15)
Max Skill 1 first as your main damage source, then level Skill 3 for its mobility and bonus damage.
Ambessa Skills
Drakehound's Step
Drakehound's Step: Ambessa's next attack within 4 second(s) of triggering Feint is 50% faster, has increased range, deals 5 bonus physical damage (5 + 2.5 (Lv) + 25% bonus AD), and restores 50 Energy (Lv) (increases at level 1/6/11). Stacks up to 3 times.

Cunning Sweep
If Cunning Sweep strikes an enemy, after a brief delay, it transforms into Sundering Slam for 3.5 second(s).
Sundering Slam: Ruthlessly cleaves in a line, dealing physical damage equal to 70 (70 + 90% bonus AD) plus 4% of the target's max HP (4% + 0.04% bonus AD) against the first enemy hit.
All other targets take physical damage equal to 35 (35 + 45% bonus AD) plus 2% of their max HP (2% + 0.02% bonus AD).
The percent of max HP damage against monsters is capped at 55 (Lv).
| Details | LVL 1 | LVL 2 | LVL 3 | LVL 4 |
|---|---|---|---|---|
| Cooldown | 12 | 11 | 10 | 9 |
| Base Damage | 30 | 40 | 50 | 60 |
| Empowered Damage | 60 | 80 | 100 | 120 |
| Base Damage | 35 | 50 | 65 | 80 |
| Empowered Damage | 70 | 100 | 130 | 160 |
| Cunning Sweep: Twin Drakehounds Damage|Target's Max Health | 2% | 2.5% | 3% | 3.5% |
| Cunning Sweep: Edge Damage|Target's Max Health | 4% | 5% | 6% | 7% |
| Sundering Slam: First Target|Target's Max Health | 4% | 5% | 6% | 7% |
| Sundering Slam: Other Targets|Targets' Max Health | 2% | 2.5% | 3% | 3.5% |

Repudiation
If she braced herself from an immobilizing effect, the shockwave damage increases to 105 (105 + 120% bonus AD).
| Details | LVL 1 | LVL 2 | LVL 3 | LVL 4 |
|---|---|---|---|---|
| Cooldown | 17 | 16 | 15 | 14 |
| Base Damage | 70 | 100 | 130 | 160 |
| Enhanced damage | 105 | 150 | 195 | 240 |

Lacerate
Recast: When Drakehound's Step is triggered after casting Lacerate, Ambessa will cast Lacerate again at the end of the dash.
| Details | LVL 1 | LVL 2 | LVL 3 | LVL 4 |
|---|---|---|---|---|
| Cooldown | 12 | 11 | 10 | 9 |
| Base Damage | 40 | 80 | 120 | 160 |
| AD | 50% | 55% | 60% | 65% |

Public Execution
Damaging minions heals her for 25% of the original heal, and damaging monsters heals her for 40% of the original heal.
The empowered attacks of Drakehound's Step grant the same healing bonus.
Active: Seizes the farthest enemy champion in a line in front of her and blinks to them, suppressing the target for 1 second(s). During this time, she gains 10% damage reduction and is unstoppable. Ambessa then slams the target into the ground, dealing physical damage equal to 200 plus 10% of their missing HP (10% + 0.05% bonus AD + 0.05%AP) and stunning them for 0.4 second(s).
If Public Execution does not hit an enemy champion, 35% of its cooldown will be refunded.
| Details | LVL 1 | LVL 2 | LVL 3 |
|---|---|---|---|
| Cooldown | 80 | 70 | 60 |
| AR Pen | 10% | 20% | 30% |
| Dmg Reduction | 10% | 20% | 30% |
| Base Damage | 200 | 300 | 400 |
| Ability Vamp | 12.5% | 15% | 17.5% |
Base Stats
League of Legends: Wild Rift (China) official champion library (patch 7.2, as of 2026-08-25)
The site's latest patch is 7.2d, but these figures come from 7.2. The 8 champions adjusted since then — Yone, Jinx, Leona, Rumble, Nasus, Ryze, Jayce, Nidalee — no longer match the live game.
A three-step guide set by the official champion library. For difficulty, a higher number means harder to play.
Critical damage is 175% for every champion. These figures exclude items and runes.
Ambessa Strengths
- ✓High mobility with a dash after every skill
- ✓Skill 1's max-HP percentage damage works on tanks
- ✓Ult's suppression catches the enemy backline carry
Ambessa Weaknesses
- ×Strictly melee with no ranged options
- ×High skill floor; combos revolve around weaving dashes
- ×Skill 2 blocks crowd control for only 0.5 seconds
Early Game
Use your passive step and Skill 1 for short trades to take lane priority. Your gank resistance is solid, so harass actively and build an HP lead. That is the early-game plan.
Mid Game
Your mobility and burst in skirmishes are high at this stage. Coordinate with your jungler to invade enemy territory, and roam to pressure other lanes and control the pace of the game.
Late Game
Split push in a side lane and use your 1v1 strength to draw enemy attention. In objective fights at Dragon or Baron, flank from the side or behind and target the enemy carries like an assassin.
Teamfights
In teamfights, do not engage front-to-back. Wait for the enemy to use their key CC and main abilities, then engage. Catch the backline with Ult, draw focus, and take down the carry.
⚠️ Common Mistakes
Spamming abilities and running out of energy
Ambessa is a fighter who keeps cycling abilities and passive dashes. Spamming them without thought drains your energy and leaves you defenseless. Pick the moments where a trade is clearly favorable. From Level 5, manage energy so you are ready for a kill with Ult.
Ambessa Combos
Basic Trade
Deal damage with Skill 1 while weaving passive autos, and trade behind the shield from Skill 2.
Engage
Dive in with Ult, then weave passive autos between skills to maximize damage.