
ThreshPatch 7.2d
Death Sentence
Cooldown Refund on Champion Hit: 3s → 2s
Landing a hook brought the next one back too quickly. With one second less refunded, there is now a gap after a successful hook — and room for the target to answer.
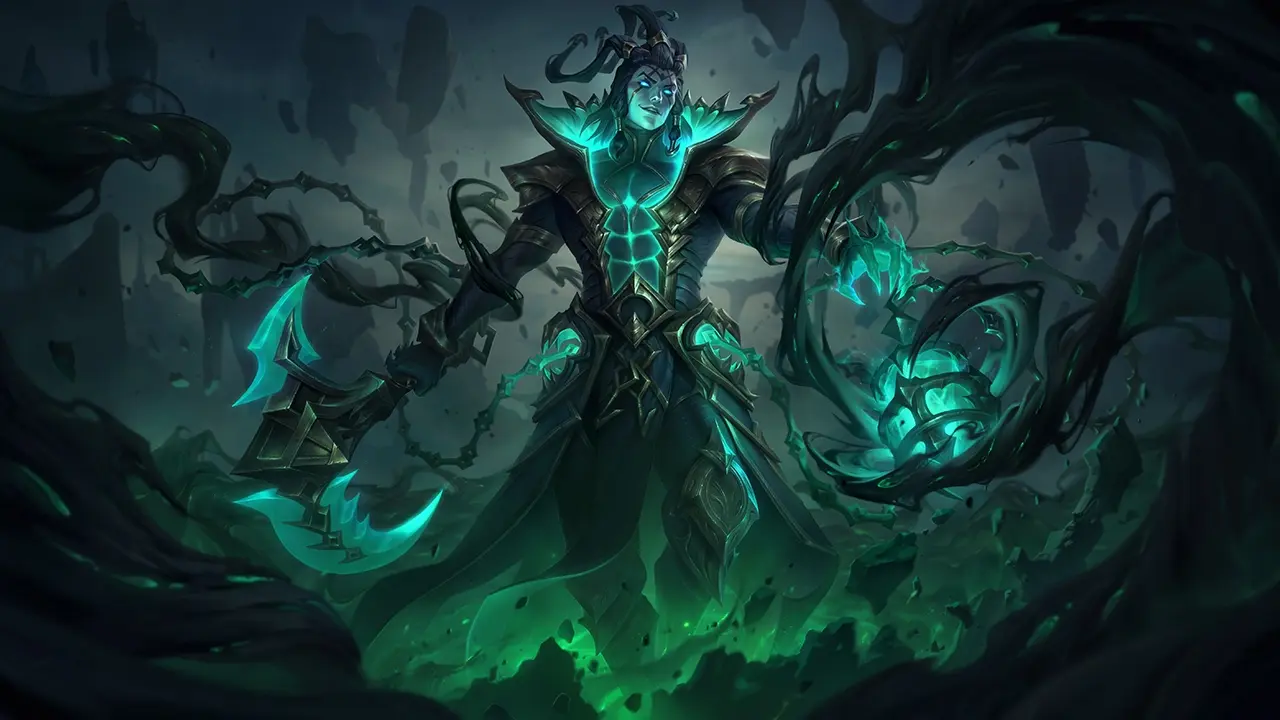
the Chain Warden
Roles and difficulty from the global official site, lane from the China-server official site
Taken from the in-game loadout screen as of 2026-08-26. The pick count and win rate are shown exactly as the game reports them.
Layered resists that also soak damage for an ally
When enemy damage skews magic and you have one ally worth protecting
This build stacks 150 Magic Resistance, 180 Armor and 30% Tenacity. Chainlaced Crushers gives you a magic shield absorbing 20-140 plus 5% max HP for 5 seconds after a champion deals magic damage to you. While your Worthy ally stays nearby, Knight's Vow redirects 12% of the damage that ally takes onto you and heals you for 10% of the damage they deal to champions. Amaranth's Twinguard adds 30% AR and 30% MR once Endurance reaches 5 stacks in combat with enemy champions.
Health and self-sustain to hold the front line
When enemy damage leans physical and comes largely from basic attacks
This build reaches 1675 Max Health and 150 Armor. Armored Advance cuts damage from champion basic attacks by 10%. Warmog's Armor increases healing and shielding on you by 30%, and with at least 950 bonus HP it restores 3.5% max HP per second whenever you go 5 seconds without taking damage. Yordle Trap marks the target of a displacing crowd control effect for 8 seconds, lowering their AR and MR by 5-12.
The commentary is AI-written. It is cross-checked against this site’s item data and the official lane assignments before publishing.
Take Skill 3 early for its passive basic attack damage, then max Skill 1 to get your hook back up more often.


| Details | LVL 1 | LVL 2 | LVL 3 | LVL 4 |
|---|---|---|---|---|
| Cooldown | 18 | 15 | 12 | 9 |
| Base Damage | 100 | 160 | 220 | 280 |

| Details | LVL 1 | LVL 2 | LVL 3 | LVL 4 |
|---|---|---|---|---|
| Cooldown | 21 | 19 | 17 | 15 |
| Shield | 50 | 90 | 130 | 170 |

| Details | LVL 1 | LVL 2 | LVL 3 | LVL 4 |
|---|---|---|---|---|
| Cooldown | 12 | 11 | 10 | 9 |
| AD | 80% | 120% | 160% | 200% |
| Slow | 20% | 25% | 30% | 35% |
| Base Damage | 75 | 115 | 155 | 195 |

| Details | LVL 1 | LVL 2 | LVL 3 |
|---|---|---|---|
| Cooldown | 85 | 80 | 75 |
| Base Damage | 250 | 400 | 550 |
League of Legends: Wild Rift (China) official champion library (patch 7.2, as of 2026-08-25)
The site's latest patch is 7.2d, but these figures come from 7.2. The 8 champions adjusted since then — Yone, Jinx, Leona, Rumble, Nasus, Ryze, Jayce, Nidalee — no longer match the live game.
A three-step guide set by the official champion library. For difficulty, a higher number means harder to play.
Critical damage is 175% for every champion. These figures exclude items and runes.
Skill 1's hook is high risk and high reward: land it and you get a kill, miss it and you are wide open. Hitting level 2 first and landing Skill 1 into Skill 3 (Flay) is one of the best First Blood setups among supports. Go for it whenever there is an opening.
In the mid game, use the Skill 2 Lantern to sync ganks and rescue caught allies, influencing the whole map. Throw the Lantern over a wall to your jungler. That lets you start fights from angles the enemy does not expect.
Keep collecting souls into the late game and you gain tank-level armor without buying armor items. Set up deep wards for vision. Hook an enemy carry standing out of position with Skill 1 and close out the game from there.
On offense, hook the enemy carry with Skill 1 and box them in with Ult to cut off their escape. On defense, knock enemy assassins out of their dashes with Skill 3. Pull a focused ally back with the Skill 2 Lantern, switching between attack and protection as the fight demands.
Using the Skill 2 Lantern only to give yourself a small shield is a serious loss. Its real moments are syncing with your jungler's gank and rescuing an ally who cannot get out. It pulls an ally to safety instantly, one of the strongest utility tools in the game. Keep tracking your allies on the minimap, and cover catch and peel with your level 5 Ult (The Box) and your hook.
Land the hook from Skill 1 and dash in, pull them back with Skill 3, then wall them in with Ult.
Pin them with the pull and slow from Skill 3 to keep the crowd control going.