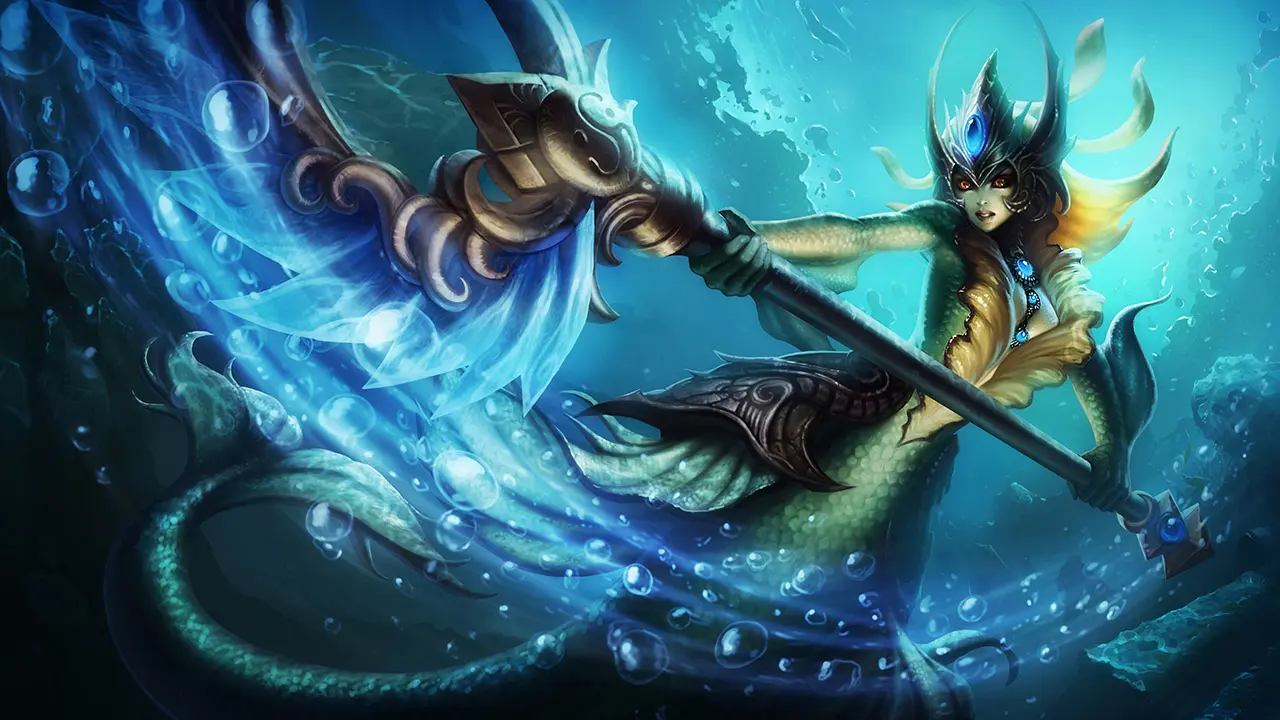
the Tidecaller
Nami
Roles and difficulty from the global official site, lane from the China-server official site
Latest Meta Stats
Popular Nami builds in game
Taken from the in-game loadout screen as of 2026-08-29. The pick count and win rate are shown exactly as the game reports them.
Area healing plus a big Ability Haste pool
- Spectral Sickle
- Harmonic Echo
- Ardent Censer
- Redemption
- Staff of Flowing Waters
- Crimson Lucidity
Enemy has two or more high-HP frontliners and team fights are common
Redemption and Crimson Lucidity are what separate this from build 2. Redemption's Intervention covers a large area, healing allied units for 150-350 HP after 2.5 seconds. The same cast deals 10% of max HP as true damage to enemy champions, runs on a 60-second cooldown, and can be used even while dead. Crimson Lucidity's 25 Ability Haste brings the whole build to +80 Ability Haste.
Shield shredding and Magic Penetration
- Spectral Sickle
- Harmonic Echo
- Spellslinger's Shoes
- Ardent Censer
- Staff of Flowing Waters
- Oceanid's Trident
When enemies lean on shields and stack Magic Resistance
Spellslinger's Shoes and Oceanid's Trident are what separate this from build 1. Oceanid's Trident weakens any shield an enemy champion gains for 3 seconds after you deal ability damage to them. Area of effect abilities cut shield strength by up to 45%, single target abilities by up to 60%. Spellslinger's Shoes add 18 and 8% Magic Penetration, so your magic damage still gets through enemies who stack Magic Resistance.
The commentary is AI-written. It is cross-checked against this site’s item data and the official lane assignments before publishing.
Skill Order (Lv 1 - 15)
Prioritize the skill that damages enemies and heals allies at the same time, then level the skill that empowers your basic attacks.
Nami Skills

Surging Tides

Aqua Prison
| Details | LVL 1 | LVL 2 | LVL 3 | LVL 4 |
|---|---|---|---|---|
| Cooldown | 12 | 11 | 10 | 9 |
| Base Damage | 75 | 145 | 215 | 285 |

Ebb and Flow
Can hit each target once. Healing and damage values are modified by -15% (-15 + 7.5%AP) each bounce.
| Details | LVL 1 | LVL 2 | LVL 3 | LVL 4 |
|---|---|---|---|---|
| Cost | 70 | 85 | 100 | 115 |
| Base Damage | 65 | 120 | 175 | 230 |
| Heal | 55 | 85 | 115 | 145 |

Tidecaller's Blessing
| Details | LVL 1 | LVL 2 | LVL 3 | LVL 4 |
|---|---|---|---|---|
| Cost | 55 | 60 | 65 | 70 |
| Bonus Damage | 25 | 45 | 65 | 85 |
| Slow | 15% | 20% | 25% | 30% |

Tidal Wave
Slow lasts for 2-4 seconds, increasing with how far the wave travels.
Allies touched gain double the effect from Surging Tides.
| Details | LVL 1 | LVL 2 | LVL 3 |
|---|---|---|---|
| Cooldown | 75 | 70 | 65 |
| Slow | 50% | 60% | 70% |
| Base Damage | 150 | 250 | 350 |
Base Stats
League of Legends: Wild Rift (China) official champion library (patch 7.2, as of 2026-08-25)
The site's latest patch is 7.2d, but these figures come from 7.2. The 8 champions adjusted since then — Yone, Jinx, Leona, Rumble, Nasus, Ryze, Jayce, Nidalee — no longer match the live game.
A three-step guide set by the official champion library. For difficulty, a higher number means harder to play.
Critical damage is 175% for every champion. These figures exclude items and runes.
Nami Strengths
- ✓Skill 2 poke that heals allies and damages enemies at once
- ✓Engage and disengage with the Ult wave
Nami Weaknesses
- ×Skill 1 bubble is slow and hard to land on its own
- ×Low durability; easily killed if an assassin gets close
Early Game
Early on, Skill 2 lets you trade while healing. Buff your ADC with Skill 3, then step forward. Trade with the heal behind you and keep pressure on the lane.
Mid Game
Move with your team in the mid game and spread heals and CC in skirmishes. The Skill 1 bubble is hard to land alone. Chain it onto your allies' CC to make it connect.
Late Game
Late game, stay beside your carries and protect them with heals and buffs. Keep watching for enemy assassins. Holding a position where you cannot be caught comes first.
Teamfights
In teamfights, the Ult wave decides the outcome. It works for engaging and for countering a dive. Land Skill 1 on slowed enemies and focus them down with your team.
⚠️ Common Mistakes
Throwing the bubble (Skill 1) without setup
Avoid throwing the Skill 1 bubble without any setup. The projectile is slow, so it is easy to dodge, and missing it leaves you open to an engage. Chain it onto allied CC or follow the slow from your Lv5 Ult (Tidal Wave).
Nami Combos
Basic Trade
Cast Skill 3 on yourself for slowing autos, which makes Skill 1 far easier to land.
Full Combo
Knock them up with the wave from Ult, then chain follow-up CC and healing.
Champions Nami struggles against (reader votes)
↑ loses the matchup / ↓ not really


Nami Patch History
No changes to Nami between patch 6.3 and 7.2d.