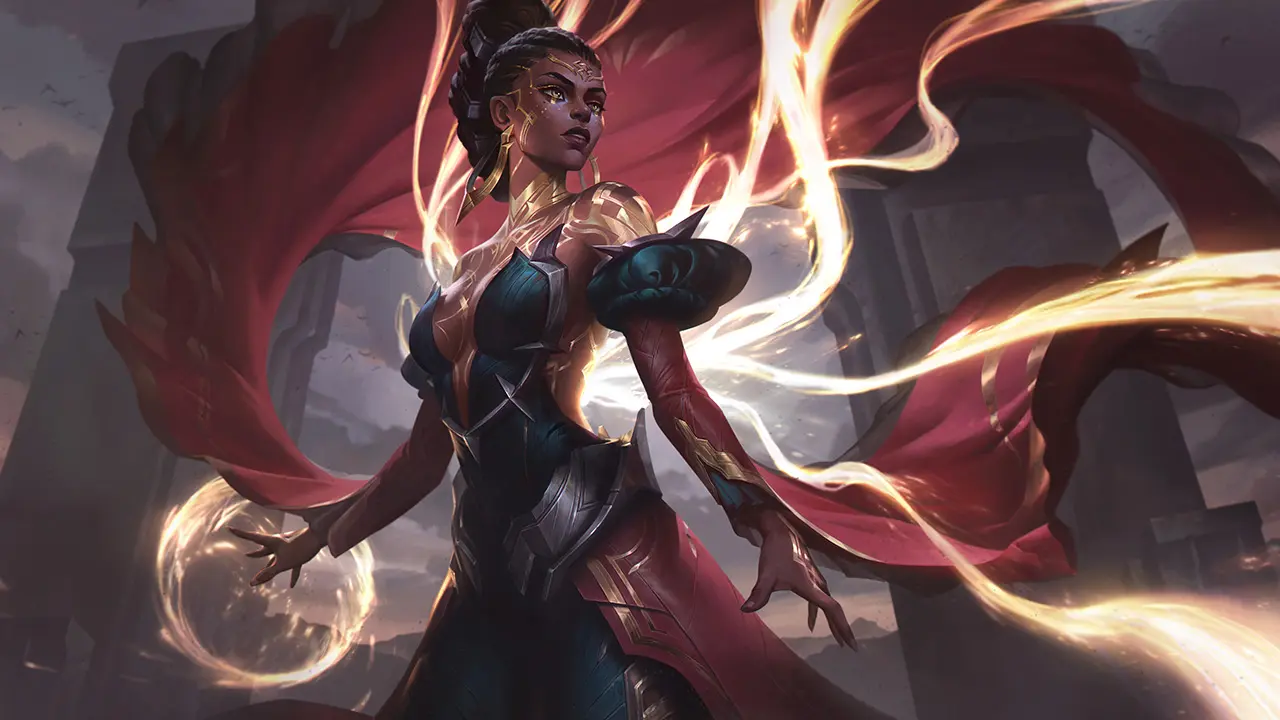




the Soul's Reflection
Mel
Roles and difficulty from the global official site, lane from the China-server official site
Latest Meta Stats
Popular Mel builds in game
Taken from the in-game loadout screen as of 2026-08-26. The pick count and win rate are shown exactly as the game reports them.
Magic penetration plus a spell shield
- Spellslinger's Shoes
- Luden's Echo
- Infinity Orb
- Rabadon's Deathcap
- Banshee's Veil
- Void Staff
When enemies build Magic Resistance and open on you with crowd control
Void Staff's 40% Magic Penetration stacks with the shoes' 8%, and the build lands at +33 flat and +48% Magic Penetration. The more Magic Resistance the enemy piles on, the better that damage lands. Banshee's Veil brings 40 Magic Resistance and a spell shield that blocks the next hostile ability, on a 30-second cooldown. Total Ability Power reaches 575, so you can erase one opening hit and answer back.
Stasis and a team heal on the mage core
- Luden's Echo
- Cryptbloom
- Infinity Orb
- Spellslinger's Shoes
- Rabadon's Deathcap
- Zhonya's Hourglass
When enemy dives come from Attack Damage threats and fights drag on
Zhonya's Hourglass carries 40 Armor and 110 Ability Power. Stasis buys 2.5 seconds of being invulnerable and untargetable, but you cannot move, attack, cast or use items while it runs, on a 90-second cooldown. Cryptbloom piles on 30% Magic Penetration and 20 Ability Haste, putting the build at 30 Ability Haste. When a champion you damaged within 3 seconds dies, a nova spreads from the corpse and restores 100 plus 20% AP health to allies, once every 60 seconds.
The commentary is AI-written. It is cross-checked against this site’s item data and the official lane assignments before publishing.
Skill Order (Lv 1 - 15)
Max your primary damage skill first, then strengthen your utility and disruption skills to increase your impact.
Mel Skills

Searing Brilliance
Overwhelm:
- Stores 60 (60 + 8%AP) plus 3 (3 + 0.5%AP) damage per stack of magic damage.
- When applied, if the stored amount exceeds the target's combined shields and current HP, they are executed.
Projectile Burst:
- Fires 3 extra projectiles on her next attack after using an ability.
- Each projectile deals 3 magic damage (3–33 (Lv) + 3%AP).
- This effect can stack up to 9 extra projectiles.
Overwhelm deals only 60% damage with the first stack when used against minions.

Radiant Volley
Each explosion deals 11 magic damage (11 + 6%AP), adding up to a maximum of 77 magic damage (77 + 42%AP) in total.
Deals 90% damage when used against minions.
| Details | LVL 1 | LVL 2 | LVL 3 | LVL 4 |
|---|---|---|---|---|
| Cooldown | 9 | 8 | 7 | 6 |
| Cost | 70 | 80 | 90 | 100 |
| Explosion Count | 7 | 8 | 9 | 10 |
| Per Hit | 11 | 14 | 17 | 20 |
| Detonation damage | 77 | 112 | 153 | 200 |

Rebuttal
Reflected projectiles deal 40% of the original damage as magic damage.
Structure damage is not prevented.
Reflected projectile damage is calculated using the original caster's base attributes, before damage adjustments and Magic Pen from items.
Does not apply item effects from the original caster.
| Details | LVL 1 | LVL 2 | LVL 3 | LVL 4 |
|---|---|---|---|---|
| Cooldown | 38 | 36 | 34 | 32 |
| Cost | 60 | 40 | 20 | 0 |
| Reflected Damage | 40% | 45% | 50% | 55% |

Solar Snare
The orb builds up a hostile area around it that slows enemies by 30% and deals 20 magic damage (20 + 6%AP) per 1 second(s).
The slow and damage-over-time effects linger on enemies for 0.75 second(s) after they've left the area created by the orb.
Deals 75% damage when used against minions.
| Details | LVL 1 | LVL 2 | LVL 3 | LVL 4 |
|---|---|---|---|---|
| Cooldown | 11.5 | 11 | 10.5 | 10 |
| Cost | 50 | 55 | 60 | 65 |
| Base Damage | 55 | 110 | 165 | 220 |
| Root Duration | 1.2 | 1.3 | 1.4 | 1.5 |
| Damage Per Second | 20 | 40 | 60 | 80 |

Golden Eclipse
Overwhelm damage is increased:
- Base damage: 60 magic damage (60 + 8%AP)
- Additional damage: 3 magic damage (3 + 0.5%AP) per stack
Active:
Unleashes her power on all enemies affected by Overwhelm, dealing:
- Base damage: 100 magic damage (100 + 25%AP)
- Additional damage: 4 magic damage (4 + 2.5%AP) per stack
Can only be cast when an enemy champion is affected by Overwhelm.
| Details | LVL 1 | LVL 2 | LVL 3 |
|---|---|---|---|
| Cooldown | 95 | 80 | 65 |
| Overwhelm Flat Damage | 60 | 70 | 80 |
| Overwhelm Stack Damage | 3 | 4 | 5 |
| Golden Eclipse Flat Damage | 100 | 150 | 200 |
| Golden Eclipse Stack Damage | 4 | 7 | 10 |
Base Stats
League of Legends: Wild Rift (China) official champion library (patch 7.2, as of 2026-08-25)
The site's latest patch is 7.2d, but these figures come from 7.2. The 8 champions adjusted since then — Yone, Jinx, Leona, Rumble, Nasus, Ryze, Jayce, Nidalee — no longer match the live game.
A three-step guide set by the official champion library. For difficulty, a higher number means harder to play.
Critical damage is 175% for every champion. These figures exclude items and runes.
Mel Strengths
- ✓Long-range poke and pressure from a safe position
- ✓Versatile support tools: a projectile-reflecting barrier and a snare
Mel Weaknesses
- ×No mobility; fragile against assassin burst and close combat
- ×Heavy mana costs; careless casting runs her dry fast
Early Game
Early on, lean on your long skill range to harass and farm from a safe position. Manage your mana so it does not run out, keep the pressure on, and take lane priority.
Mid Game
Shove the lane quickly with your strong wave clear, then set up vision and positions around Dragon and Herald with your team. When a skirmish breaks out, support allies with the snare and the reflecting barrier.
Late Game
Before the teamfight starts, focus on poking down enemy HP from long range. Do not step up too far; keep dealing damage from the very back, where you can still protect your team.
Teamfights
The moment your tank engages, fire Ult into every enemy carrying Overwhelm stacks and break their formation. Stay alert for enemy assassins and divers, and cover each other with your team.
⚠️ Common Mistakes
Poor positioning and forcing close combat
Giving up your range advantage to step into the enemy and force damage is a mistake to avoid. Mel has no mobility and dies instantly once the enemy closes in. The baseline is long-range harass and support with the Skill 3 snare. From the safest spot at the back, keep applying pressure with Ult from Level 5 on.
Mel Combos
Basic Trade
Stack Overwhelm with the barrage from Skill 1 and pin them with the 1.2s snare from Skill 3. Use Skill 2 to reflect their projectiles.